How do I configure the Philips Dictation Recorder App on my iPhone?
The Philips Dictation Recorder App, sometimes referred to as SpeechExec Mobile, allows you to conveniently dictate into your iPhone, and then easily transfer the dictation to your computer with the press of a button. SpeechExec Mobile presents a new dimension to wireless working: with the ability to record, edit and send dictation files from your iPhone, you get more flexibility and reduced document turnaround time.
SpeechExec Mobile is the perfect companion for your iPhone, delivering everything you need for a secure, wireless dictation workflow. This ‘How to’ guide will walk you through the process of properly configuring the Philips SpeechExec Mobile on an iPhone.
NOTE: You can download the application for free; however, there is a fee to convert and send the audio files to your computer through the Philips Dictation Hub. Essentially, this service is targeted at serving the needs of users who want to integrate mobile dictation with an existing Philips SpeechExec software workflow.
STEP 1: Download the FREE Philips Dictation Recorder App
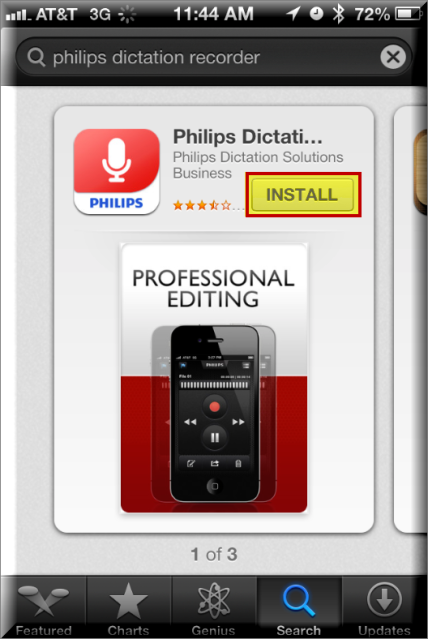
1. Go to the App Store and search for the Philips Dictation Recorder App. Once found, select [INSTALL].
STEP 2: Create a Dictation Hub Account
1. Launch the Philips Dictation Recorder by tapping on the red microphone icon.
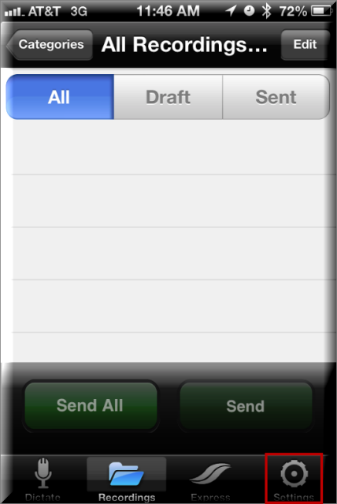
2. The app will open showing the “All Recordings” screen – which will be blank, as this is your first time using SpeechExec Mobile. Press the [SETTINGS] icon on the bottom right.
3. In the “Settings” menu, select the [Forwarding] option.

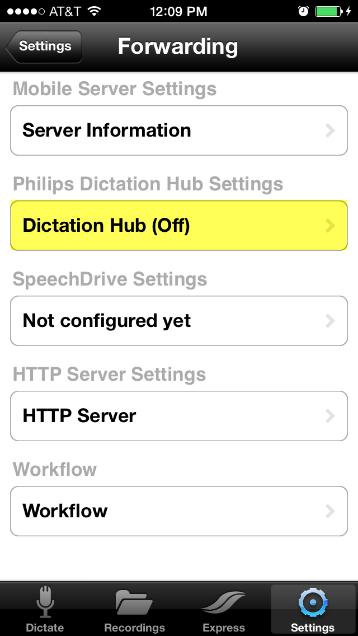
4. At the “Forwarding” menu, press [DICTATION HUB (OFF)].
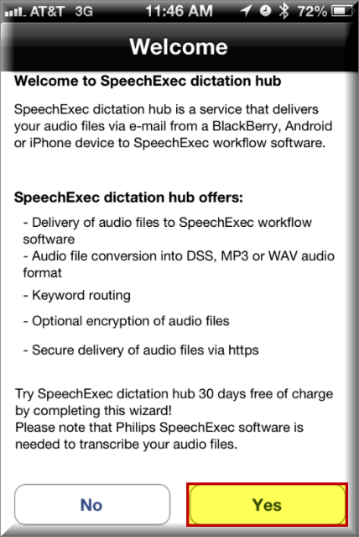
5. You will be presented with a “Welcome” screen. Select [YES] to continue.
6. You will be presented with the EULA (End User License Agreement). Read the agreement, and then press [ACCEPT] to continue.

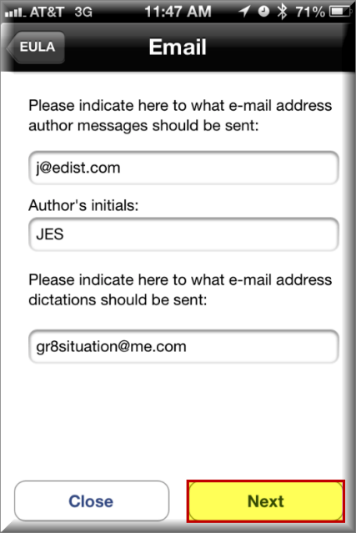
7. You need to enter your email address, your initials and the destination email address (where you want the dictations sent to). Please enter your preferences, and then select [NEXT].
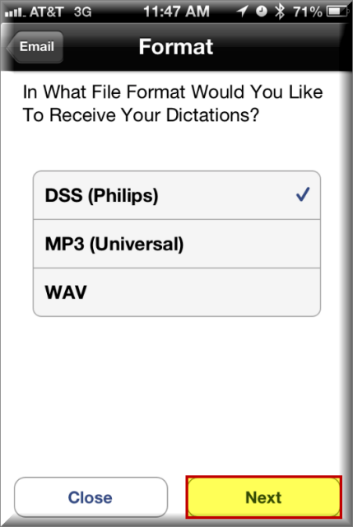
8. Select your desired file format, and then tap [NEXT]. We recommend DSS for those using the Philips SpeechExec software.
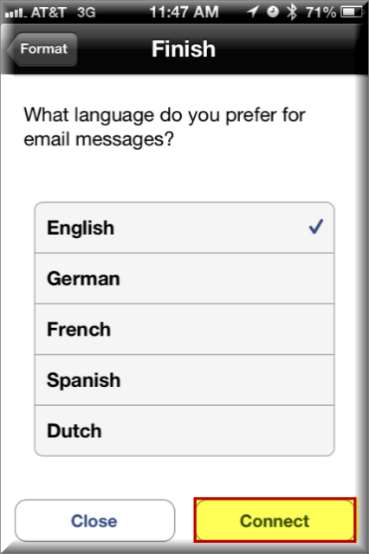
9. Select your preferred language; then tap [CONNECT].
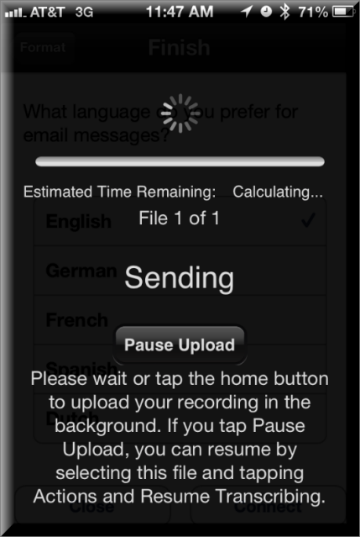
10. This will set up your account with Philips Dictation Hub and send you an email containing your Customer number.
11. Check your email. You should have just received a confirmation email from Philips containing your account information.
12. Congratulations, you have just completed the necessary steps to enable your 30 day trial of the Philips Dictation Hub. You may now begin using your iPhone to record and send dictations. If you have purchased this solution, you will need to complete the next step (Step 3) to confirm account activation.
STEP 3: Account Activation
The steps above will essentially activate your Philips Dictation Hub account for 1 year. These steps should only be followed by those who have purchased the Philips Dictation Recorder App (aka SpeechExec Mobile).
1. Check the confirmation email you receive after completing Step 2, Part 10. That email will contain a majority of the information needed for account activation.
2. Send an email to [email protected] with the following information:
- Customer Number:
- First and Last Name:
- Author’s Email Address:
- Device Type: (iPhone, Android or Blackberry)
- Sales Order Number: (This number can be obtained from your Philips dealer)