To enable audio redirection through a remote desktop connection, and allow users to connect and use Dragon on Windows Server 2008 R2 or Windows 7 Ultimate Server, you install software on Windows servers and on Dragon workstations. You can expect to spend around thirty minutes installing and configuring the required software.
STEP 1: Install Dragon NaturallySpeaking V12
1. Install Dragon on Windows Server 2008 R2
2. To use a smartphone device as a microphone- Configure the Dragon Remote Microphone application on your iPhone to communicate with Dragon. Installing the Dragon Client for Remote Desktop software and using the Audio Setup wizard is not required for smartphones.
or
To use a non-smartphone device as a microphone – On each client computer that will connect to Dragon on the server, install the Dragon Client for Remote Desktop on the client computer:
1. Insert your Dragon NaturallySpeaking DVD in your local computer’s DVD drive.
2. In the Dragon Client For Remote Desktop folder, run setup.exe and follow the steps to install the software. The program groupDragon Client For Remote Desktop” appears in your Windows program folders available from the Windows Start menu.
Note: If you are installing Dragon Client for Remote Desktop using the MSI Windows Installer, run dragonclientinstaller.msi.
3. Connect the microphone that you will use to dictate with Dragon.
4. If your computer has multiple audio sources, make sure that your microphone is set as the Default recording.
5. From the Dragon Client for Remote Desktop program group, run the Audio Setup Wizard to configure your microphone.
Note: To use a smartphone or other supported wireless device as a remote microphone, do not use the Audio Setup wizard. See Set up a smart device as a microphone
Dragon Client For Remote Desktop components
The Dragon Client For Remote Desktop installation consists of two components that you install on the client computer:
- Audio Setup Wizard: a stand-alone application that provides a way to check that your microphone sound levels and signal quality are suitable for using Dragon NaturallySpeaking with a remote desktop connection.
- PMIIControl.exe – the Powermic II Button Control application: a stand-alone application that provides a way to customize the buttons on the PowerMic II. The buttons can be used with Dragon NaturallySpeaking while working across the remote desktop connection, and can also be used with local applications, independent of installing and using Dragon NaturallySpeaking.
STEP 2: Configuring the Windows server
1. Ensure the server computer meets the system requirements.
2. On Windows Server 2008 R2, make sure that theRemote audio” recording device already exists.
3. If you are using Windows Server 2008 R2, perform the steps in Configuring Remote Desktop Connection for Windows Server 2008 R2.
4. Optionally, you can publish all applications and EMRs on Windows Server 2008 R2 using Remote Application Manager. This provides full support for dictation and playback.
5. Optionally, you can configure the Roaming User master directory and Roaming Administrative settings. Nuance recommends enabling the Roaming User feature to store User Profiles on a secure network.
STEP 3: Configuring Remote Desktop Connection for Windows Server 2008 R2 Part 1
Perform the following steps to install and configure the Remote Desktop Services role.
1. Open Remote Desktop Connection.
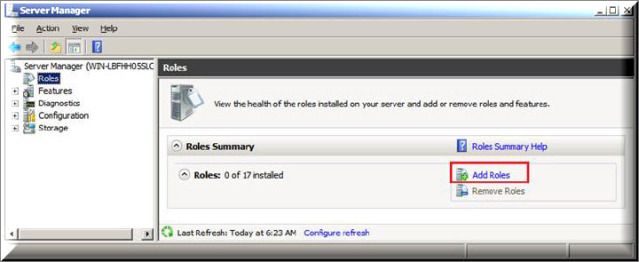
2. Open the Server Manager.
3. Select [Roles].
4. Select [Add Roles].
5. On the Before You Begin screen, click [Next].
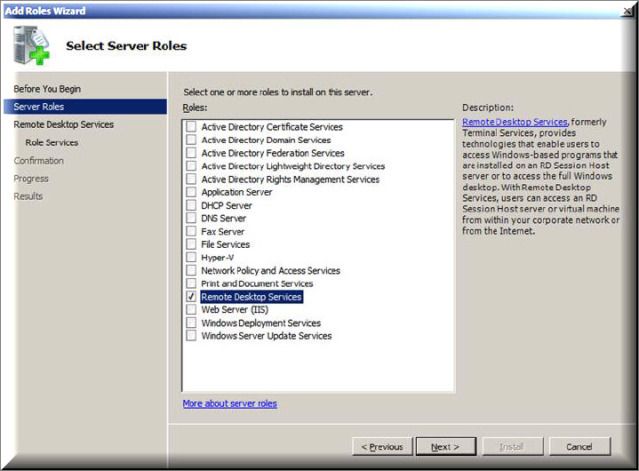
6. On the Select Server Roles screen, select [Remote Desktop Services], click [Next].
7. On the Remote Desktop Services screen, click [Next].
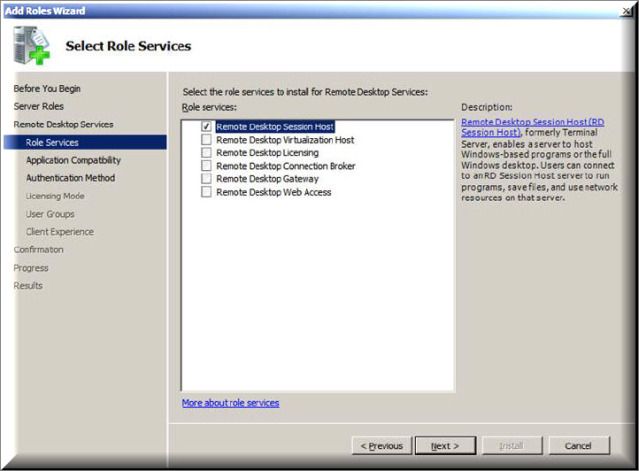
8. On the Select Role Services screen, select [Remote Desktop Session Host], click [Next].
9. On the Uninstall and Reinstall Applications for Compatibility screen, click [Next].
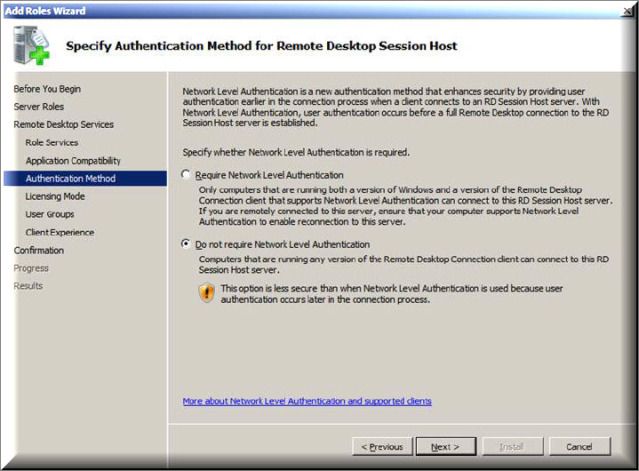
10. Select Do not require Network Level Authentication , click [Next].
11. On the Specify Licensing Mode screen, click [Next].
12. Click [Next].
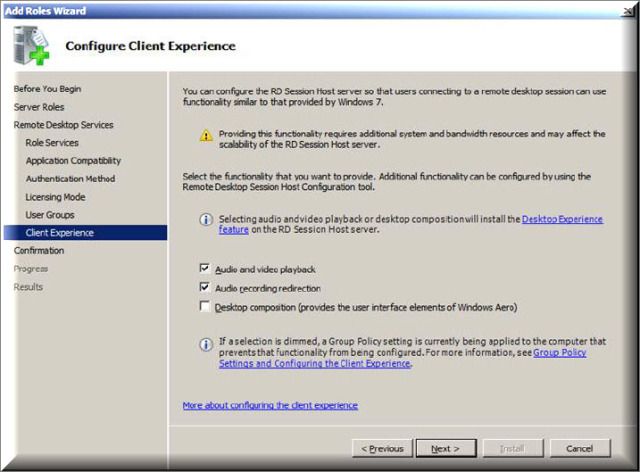
13. Select the [Audio and video playback] & the [Audio recording redirection] options.
14. Confirm your selections, and click [Install].
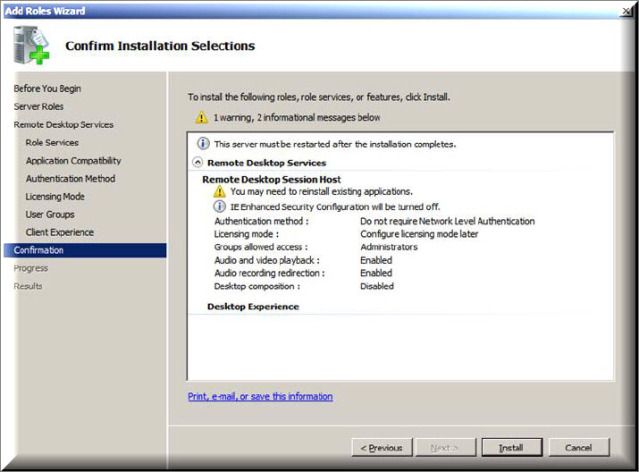
NOTE: The Installation Progress screen will display the status of the installation.
15. On the Installation Results screen, verify that the installation was successful. Click [Close].
16. Restart the computer.
STEP 4: Configuring Remote Desktop Connection for Windows Server 2008 R2 Part 2
Perform the following steps to configure the local group policy on the server and to allow connections from client computers.
1. From a command prompt, enter gpedit.msc.
2. Navigate to Computer Configuration > Administrative Templates > Windows Components > Remote Desktop Services > Remote Desktop Session Host > Device and resource redirection.
3. Enable the Allow audio and video playback redirection option: on the Allow audio and video playback redirection screen, select [Enabled] and Press [OK].
4. Enable the Allow audio recording redirection option: on the Allow audio recording redirection screen, click [Enabled] and Press [OK].
5. Launch regedit on and set the following registry setting to 0:
HKLMSYSTEMCurrentControlSetControlTerminal ServerWinStationsRDP-Tcp fDisableAudioCapture REG_DWORD 0x00000000
6. Open the Control Panel.
7. Navigate to System and Security > System.
8. Select [Remote].
9. Enable the Allow connections from computers running any version of Remote Desktop (less secure) option.
10. Click [OK].
STEP 5: Configuring the client computer to connect to Dragon through a remote desktop connection
After you install Dragon on the server and Dragon Client for Remote Desktop on each client computer, perform the following steps on each client computer that will connect to Dragon on the server.
1. Ensure the client computer meets the system requirements. See System Requirements for Dragon on Windows Server 2008 R2 for more information.
2. On the client, plug in the microphone that you will use to dictate with Dragon. Then run the Audio Setup Wizard to check that microphone sound levels and signal quality are suitable.
3. Ensure Remote Desktop Connection 6.1 (RDC 6.1) or higher is installed on the client computer.
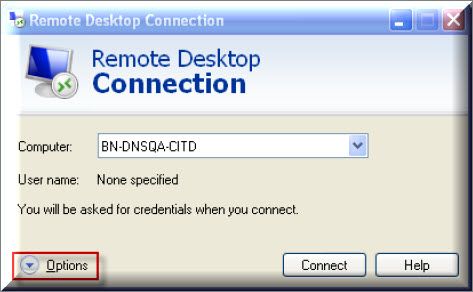
4. When you start Remote Desktop Connection 7, in the Remote Desktop Connection dialog box, click [Options].
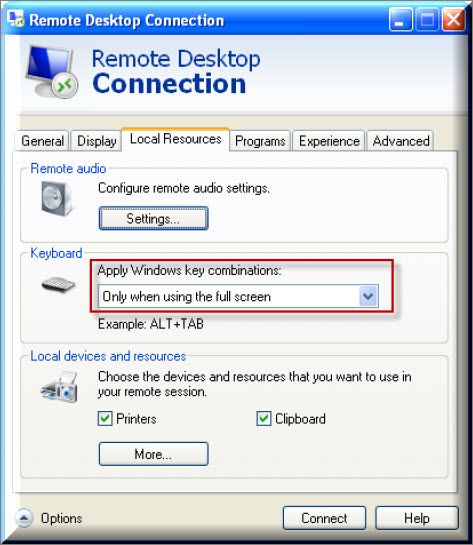
5. Select the [Local Resources] tab, click [Settings].
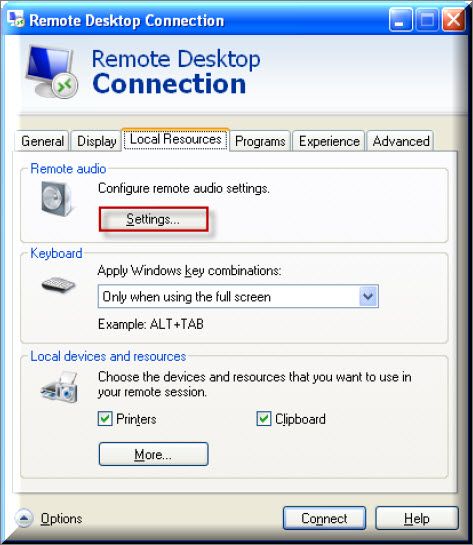
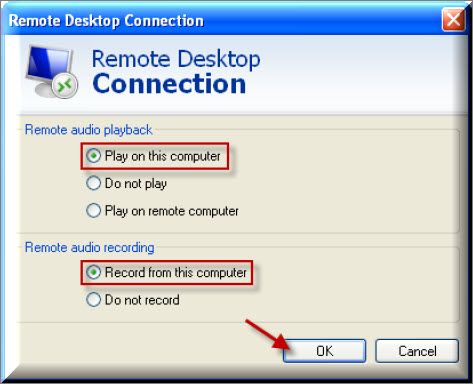
6. Select [Play on this computer] and [Record from this computer], and click [OK]. Selecting these options enables audio support each time the end-user opens the remote connection to use Dragon on Windows Server 2008 R2.
7. Recommended only for the PowerMic: On the Local Resources tab, set the Apply Windows key combinations field to Only when using the full screen. Using full screen lets you use the PowerMic II Button Control application correctly.
Note: If not using full screen mode, key combinations may not work as expected and may be limited.
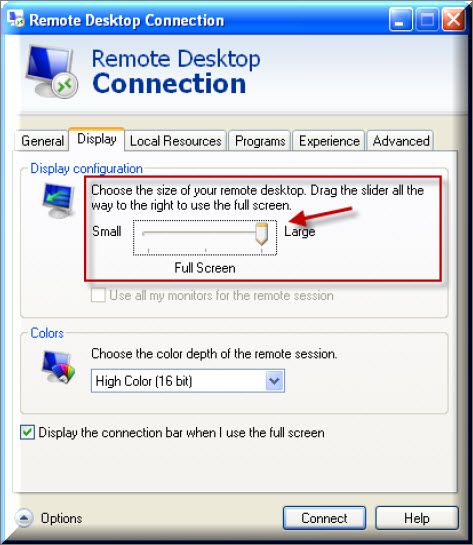
8. Recommended only for the PowerMic: On the Display tab, set the Display configuration to Full Screen.
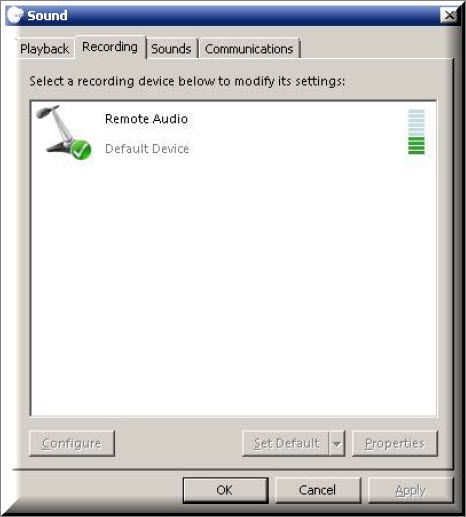
9. In the Windows sound settings, verify that your Remote Audio device appears.
Now create or open a User Profile and begin dictating with Dragon. Inform Dragon users that when they create User Profile, they must perform four minutes of Short training. It is not possible to skip User Profile training when Dragon is installed on the Windows Server 2008 R2 and when using Remote Desktop Connection 7. Dragon users can use profiles created on other systems without performing additional training on Windows Server 2008 R2. Nuance recommends creating User Profiles in the Windows Server 2008 R2. The microphone used to create the profiles on a different system may be different than the currently available microphone on the remote audio device.
IMPORTANT: If the suggested resolution above did not resolve your issue, please contact your Dealer (where you purchased the product from) for support.
If you do not have a dealer, let us be your partner. We offer affordable, annual support & maintenance packages to ensure you get the help you need. To learn more about how eDist can help you improve financial performance, raise the quality of care and increase customer satisfaction.
CLICK HERE for complete details about our available services.
Verification Source: Dragon NaturallySpeaking V12 Administrative Guide
Test Date: 8.23.12