This guide will walk you through the process of activating Dragon® Naturally Speaking roaming user profiles within Philips® SpeechExec version 7 (and higher). For the purpose of this guide, we will assume that you have a valid version of Dragon speech recognition installed and a roaming profile already created.
Step 1: Activate your speech recognition license in SpeechExec Pro.
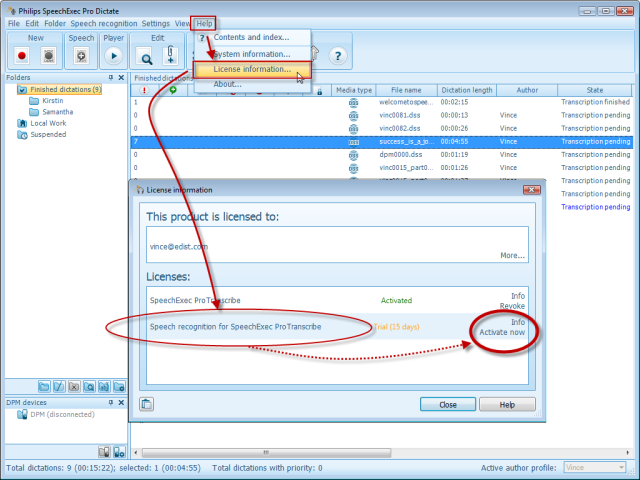
1. Go to Help > License Information.
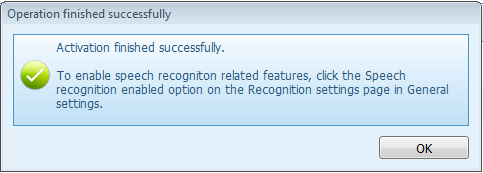
2. When the license panel comes up, locate “Speech Recognition for SpeechExec Pro” and click the corresponding “Activate now” link on the right. Your speech recognition license is now active.
Step 2: Enable speech recognition
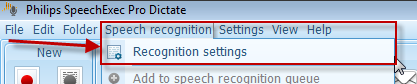
1. Go to the menu heading, [Speech recognition] > [Recognition settings]. This will take you directly to the Speech Recognition settings inside of the General Settings panel.
2. Click the checkbox next to “Speech recognition enabled,” and then select the radio button for “Use Dragon Roaming.”
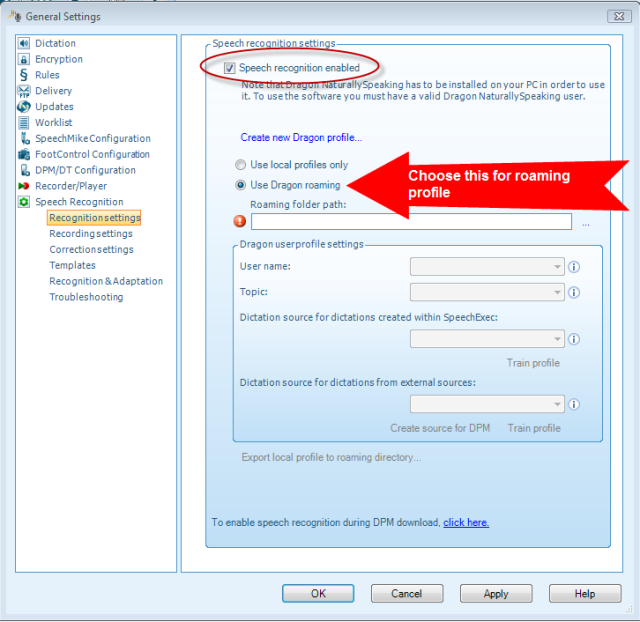
Browse to the folder that contains all of your roaming users and click [OK]. Once the network path has been located, click [Finish] to go back to the main screen.

Step 3: In the “Dragon user profile settings” box, select your Dragon profile, topic, and dictation source(s), and then click [OK].
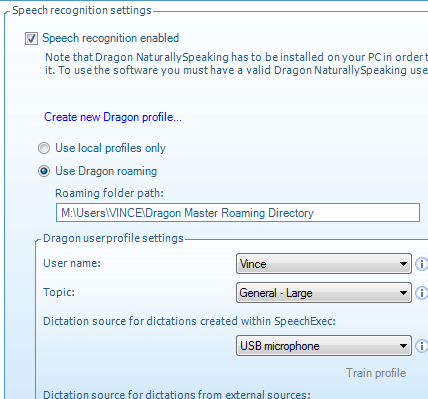
Note: Your “user name” should be the same as your SpeechExec author name. If it isn’t, you’ll need to rename your Dragon profile.
Call Toll Free: 877-488-8280
Top Bar Navigation
Certified eSupport
How to Activate Dragon Roaming Profiles in Philips SpeechExec Pro
You are here:
- Home
- Knowledgebase
- Philips Professional Support
- How to Activate Dragon Roaming…