Philips Dictation Recorder for Android presents a new dimension to wireless working. Recording, editing and sending dictation files from your Android Smartphone offers mobile flexibility and reduces document turnaround time. When recording is finished and you are ready to send files, they can be transmitted to your company’s dictation server or to the Hosted Mobile server via HTTP/S. After transcription, the transcribed document can then be sent back to the Android device by e-mail. SpeechExec workflow software is the perfect companion for your Android Smartphone, delivering everything you need for secure, wireless dictation workflow.
This ‘How to’ guide will walk you through the process of properly configuring the Philips SpeechExec Mobile on Android. Illustrated images have been included for your convenience. Some images may slitghly differ depending on operating system version on your phone.
NOTE: The App itself is Free, however; there is a charge to send the audio files via the Philips Dictation Hub (Mobile Server) and integrate with the Philips SpeechExec Software Pro or Enterprise Software. Please contact your eDist account representative for pricing.
STEP 1: Download and Installing the FREE Philips Dictation Recorder App
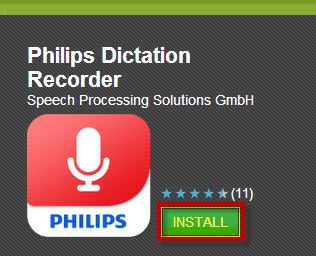
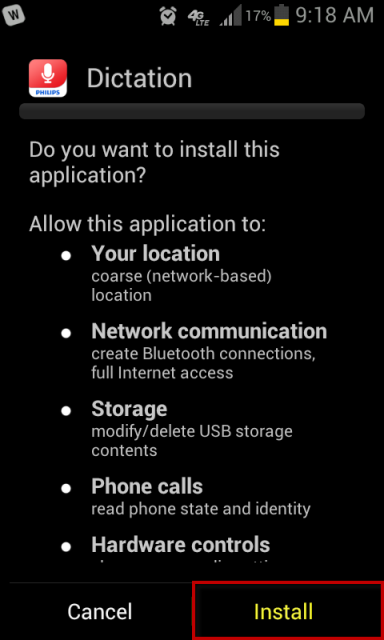
1. Go to the ‘Google Play’ app on your phone and search for the Philips Dictation Recorder App. Once found, select [INSTALL] as illustrated below.
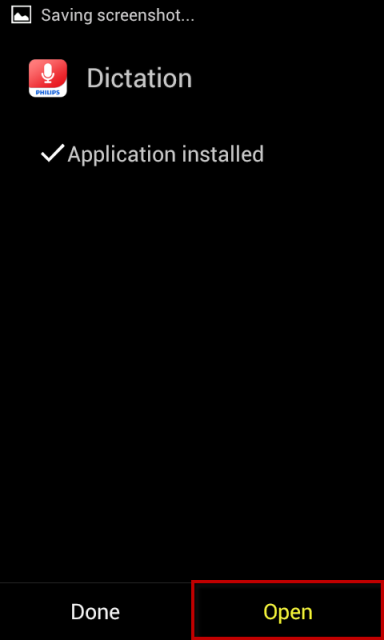
2. After the install is complete, select ‘Open’ to open the Philips Dictation Recorder App as illustrated below.
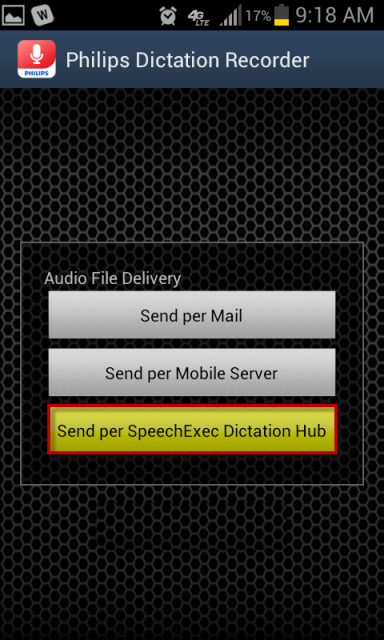
3. Once the Philips Dictation Recorder App opens, it will prompt you to select an ‘Audio File Delivery’. Choose ‘Send per SpeechExec Dictation Hub’ as illustrated below.
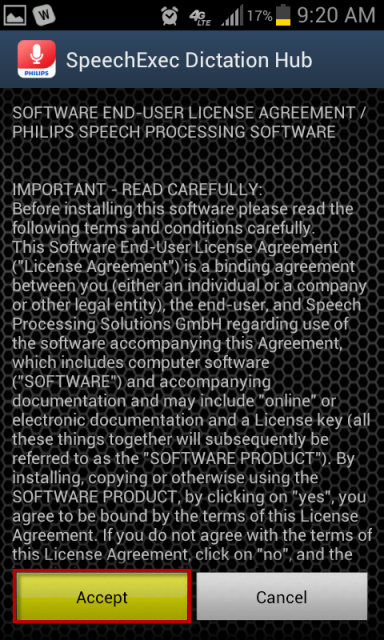
4. A ‘SpeechExec Dictation Hub Welcome’ screen will open. From here you will choose to try the30 Day Trial by clicking ‘Yes’ and accepting the EULA (End-User License Agreement) as illustrated below.

STEP 2: SpeechExec Dictation Hub Setup
1. After you agree to the EULA (End-User License Agreement), you will need to enter the email recipient (where you want your dictations to be sent), Author’s email address (where you want it to show as coming from) and your Author initials as illustrated below.

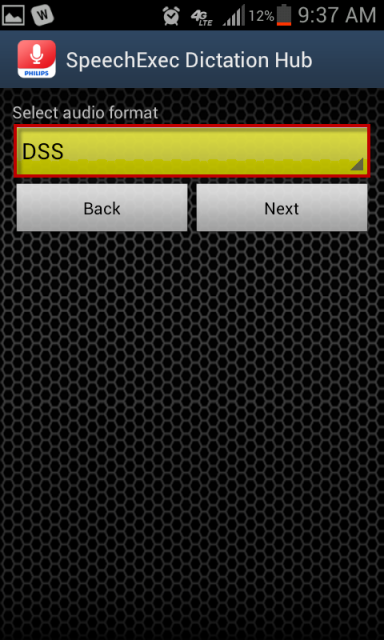
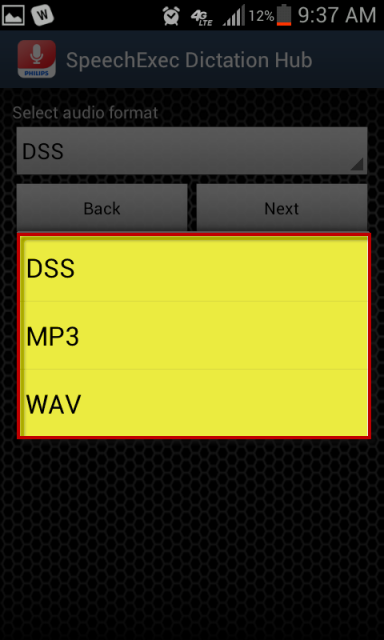
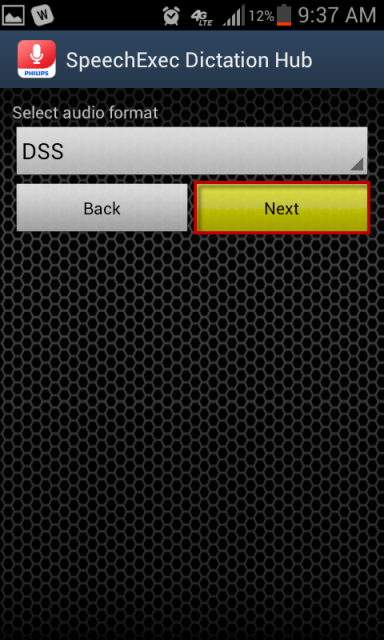
2. Once you have finished the Email and Author properties, you will now define the desired format of the dictation file as illustrated below.
3. Now you can select the language you prerfer the app to display as illustrated below.


4. After selecting the language, you will be presented with the recording screen. Thus, completeing the setup portion on the phone.

5. You will receive a confirmation email from the Philips Dictation Hub. Please forward that email to [email protected] so that we can activate your account.
NOTE: Completing Step 1 and 2 will begin your FREE 30 day trial. If you decide to purchase, please complete STEP 3 for final configuration.
STEP 3: Create Dictation Hub Account
CLICK HERE to complete the activation form. Please have the following information ready.
- Customer ID Number
- Email address
- First Name
- Last Name
- Company Name (If applicable)
- Country
- Reseller Name and email address (If you’ve worked with a Reseller)
Congratulations! You are done! Now your Android will be able to send dictations via the Philips Dictation Recorder app. Kick the tires and give it a spin!
IMPORTANT: If the suggested resolution above did not resolve your issue, please contact your Dealer (where you purchased the product from) for support.
If you do not have a dealer, let us be your partner. We offer affordable, annual support & maintenance packages to ensure you get the help you need. To learn more about how eDist can help you improve financial performance, raise the quality of care and increase customer satisfaction.
CLICK HERE for complete details about our available services.
Verification Source: In-house testing
Test Date: 10-25-12