Setting Up Email in Philips SpeechExec Pro
This guide will walk you through the process of configuring Philips® SpeechExec Pro v7 (for Windows®) to work with a Microsoft® Outlook (Exchange) email account.
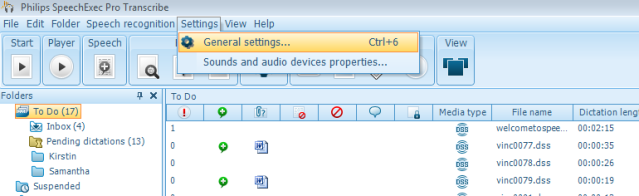
Step 1: Go to the menu bar and find [Settings], Then select [General Settings]. Alternatively, you can hit the CTRL key and the number 6.
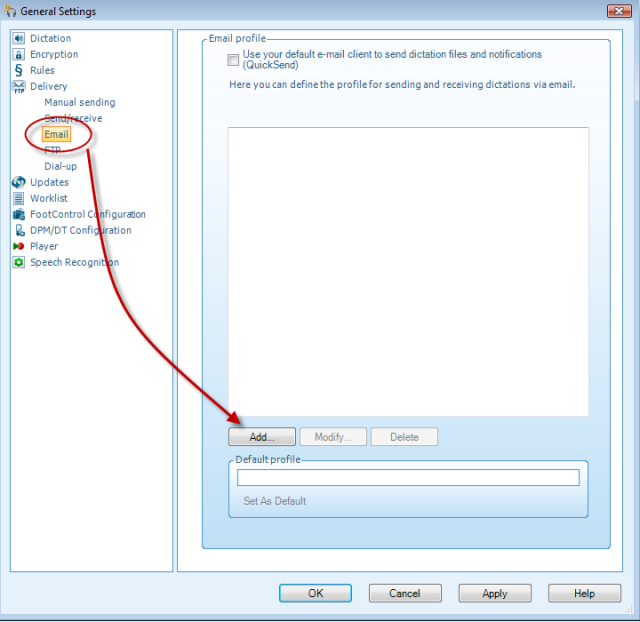
Step 2: In the General Settings panel, look to the left-hand side for the topic [Delivery], then select [Email]. You’ll want to create a new profile, so click the [Add] button at the bottom of the panel.
Step 3: The ‘New Email Profile’ panel will appear. For Outlook mail, choose Extended MAPI, and then name the profile whatever makes sense to you. The name is only there to help you distinguish one email profile from another.

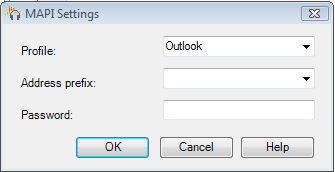
Step 4: The MAPI Settings box will now appear. Choose “Outlook” from the drop-down menu. There is no need to put in a suffix or password. Click OK.
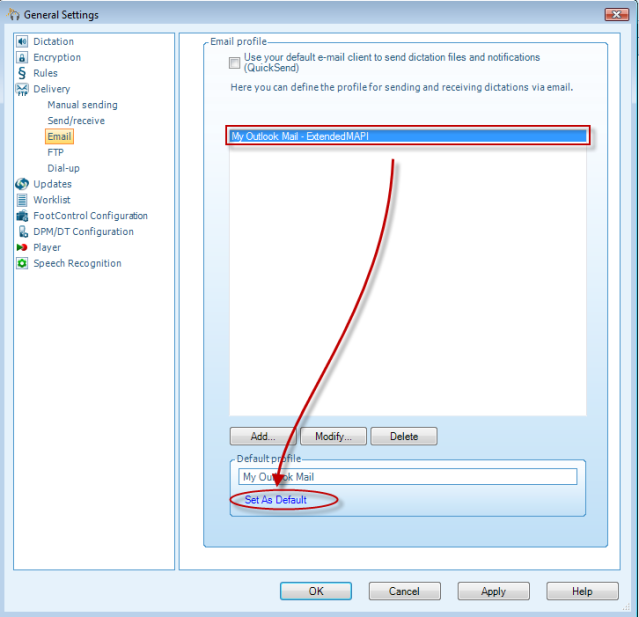
Step 5: The “Default profile” field at the bottom of the General Settings window should list your new Outlook profile. If it does not, select your profile from the list and click “Set As Default.”